
From Template to Production: Building a Chat App with Azure AI Foundry
Build a secure, repeatable, and cost-aware chat experience over your data using the official Microsoft template, Azure App Service, and Azure AI Foundry with Prompt Flow.
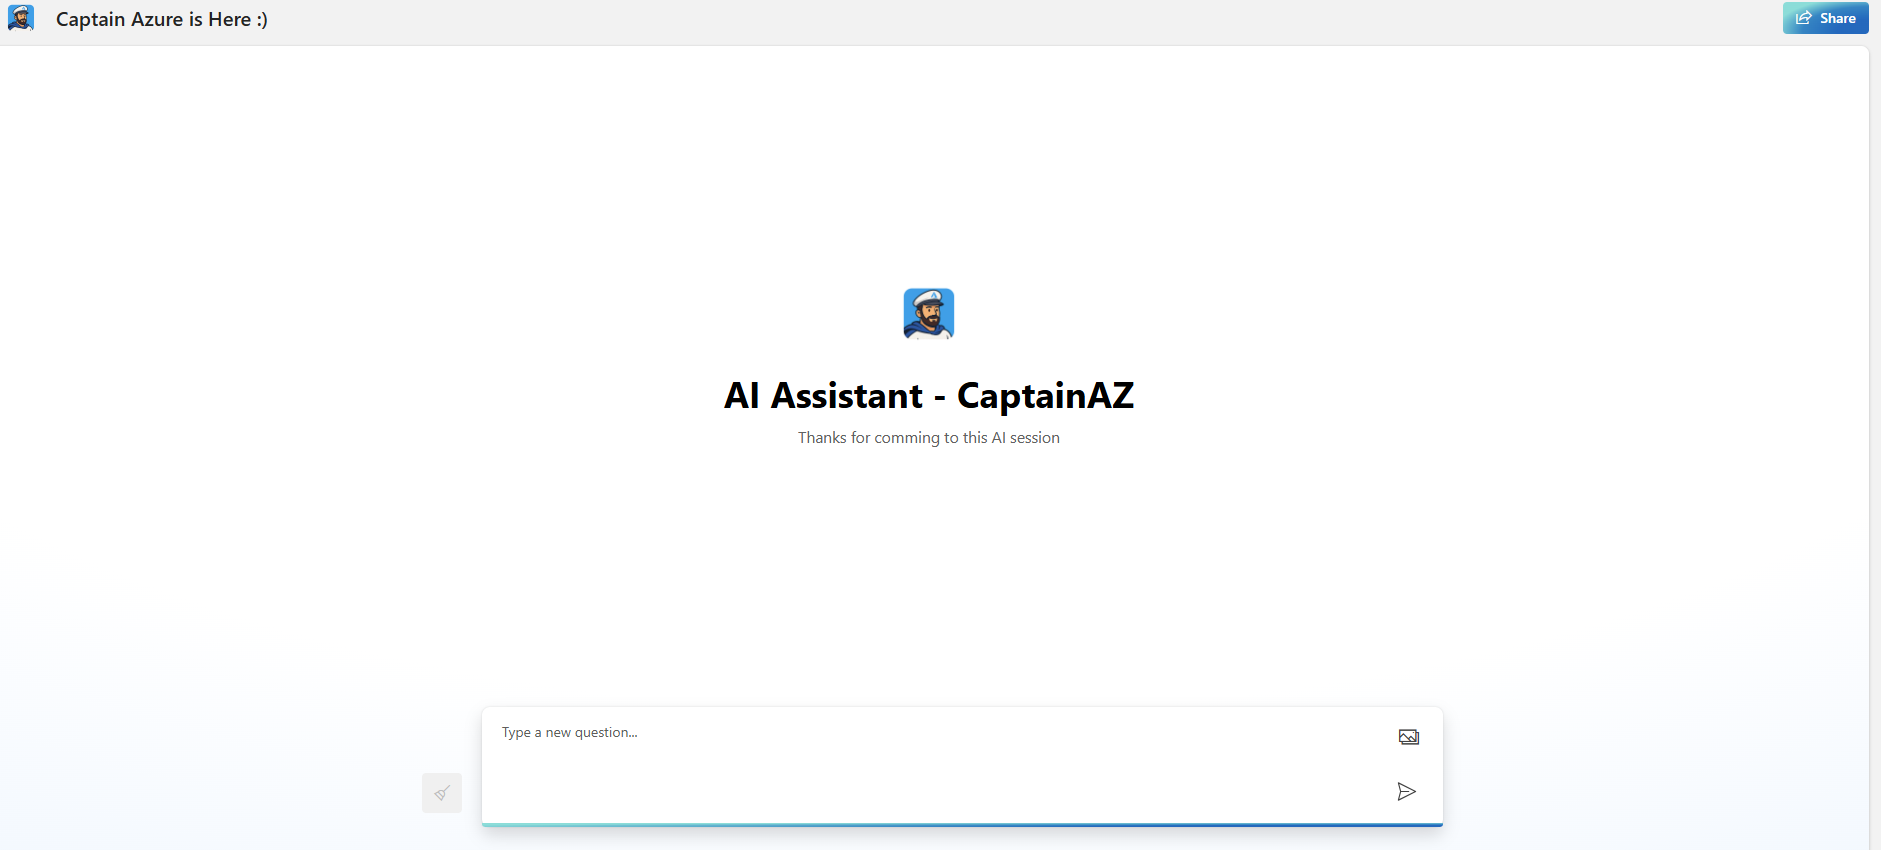
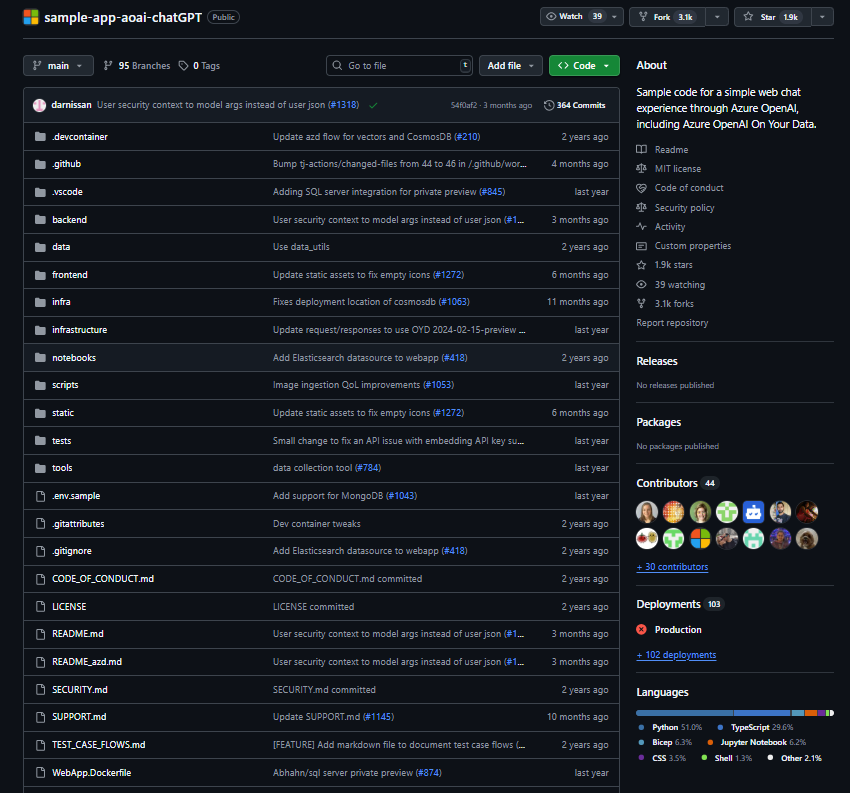
This guide shows how I took Microsoft’s sample-app-aoai-chatGPT template and turned it into a production-ready deployment on Azure App Service, backed by a model deployed in Azure AI Foundry, plus Prompt Flow for evaluation and iteration.
What You Will Build
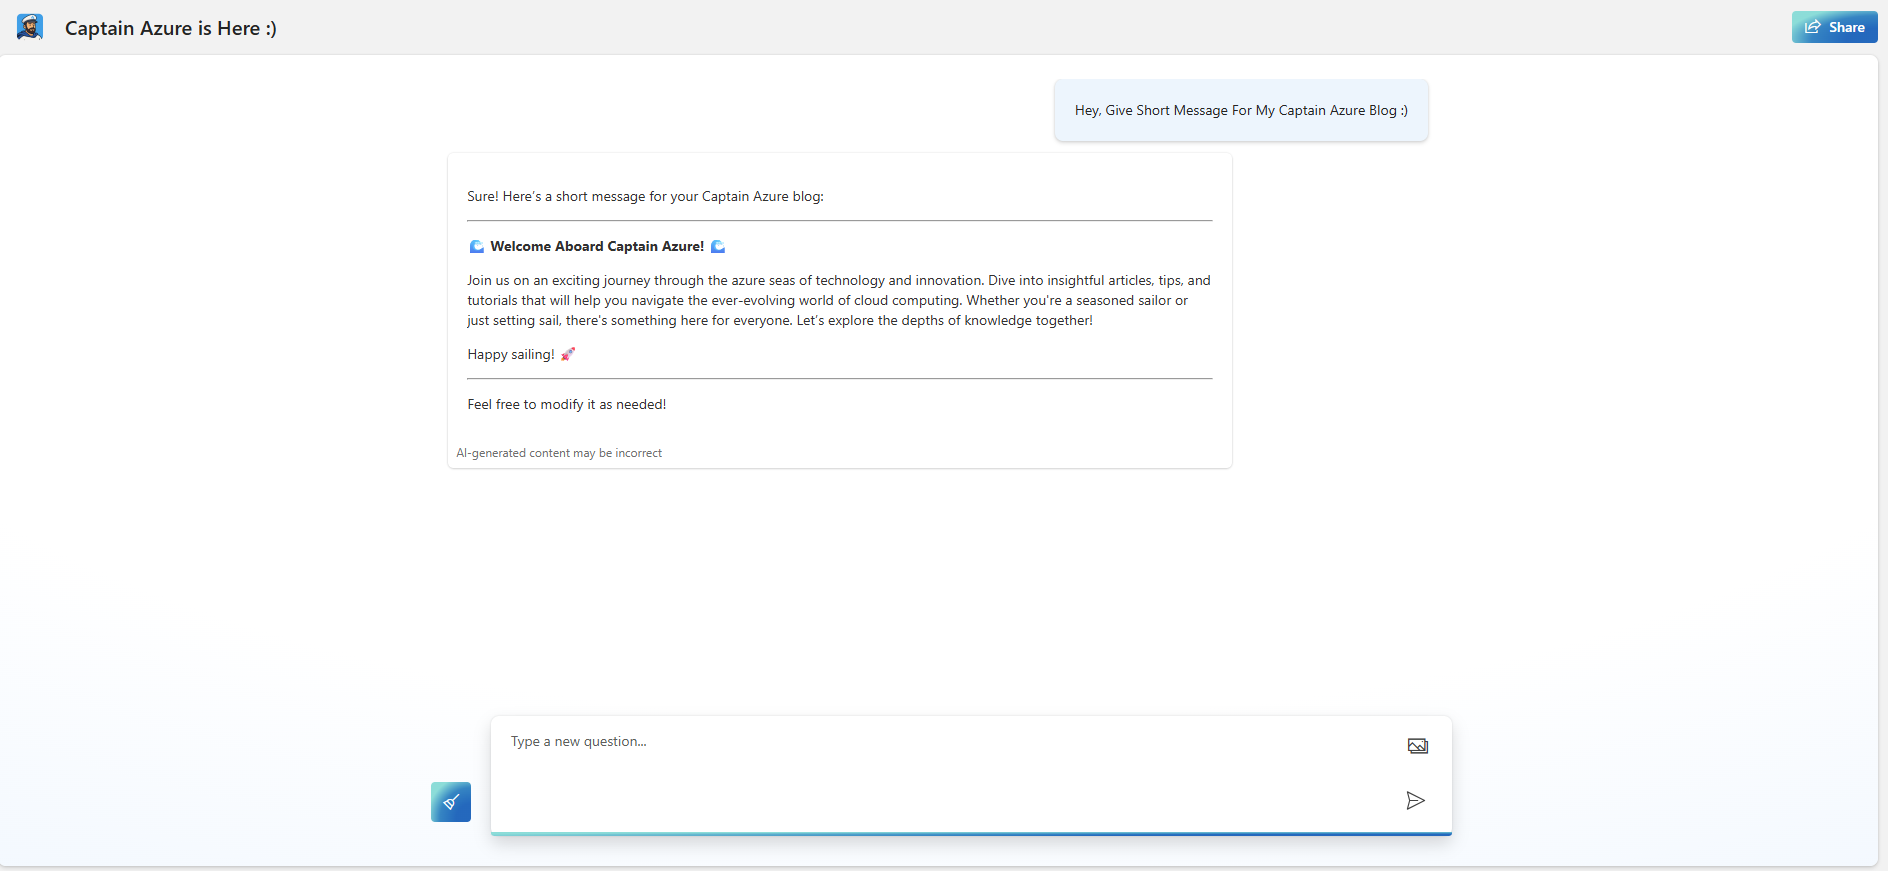
- A web app that speaks with your data using Azure OpenAI or other Foundry models.
- App Service hosting with CI/CD and environment configuration.
- Secure connection to model endpoints and data sources.
- A repeatable flow for prompt experiments and evaluation with Prompt Flow.
Important: the reference template uses some preview APIs. Validate feature availability in your region and subscription before you roll out to production.
Why App Service + Azure AI Foundry
- Simple hosting - HTTPS out of the box, autoscale, logs, and a clean deployment story.
- Separation of concerns - model lifecycle in Azure AI Foundry, web app lifecycle in App Service.
- Security - Managed Identity, Key Vault references, VNet integration, private endpoints.
- Observability - Application Insights, logs, and Prompt Flow evaluation results.
Architecture
Browser
  |
  v
Azure App Service (Web App)
  |   ^
  |   | Managed Identity
  v   |
Azure Key Vault  ----> secrets / endpoints
  |
  | VNet + Private DNS
  v
Azure AI Foundry (Model endpoint)
  |
  v
Data sources (Search, Storage, SQL) via private endpoints
Prerequisites
- Azure subscription with permission to create App Service, Key Vault, and Azure AI resources.
- Access to Azure AI Foundry and the Models catalog, plus a supported model in your region.
- Optional: Azure AI Search or other data source for RAG scenarios.
- GitHub repository based on the Microsoft template.
Official resources
- Microsoft template: github.com/microsoft/sample-app-aoai-chatGPT
- Azure AI Foundry - Models and deployments
- Prompt Flow - concepts and evaluation
- App Service - GitHub Actions deployment
- Key Vault references from App Service
- App Service VNet integration and routing
- Azure OpenAI private endpoints
Links appear in the References section at the end.
Step 1 - Start from the Microsoft template
- Fork the template to your GitHub account.
- Read the README and run locally to confirm the basic chat works.
- Commit a minimal settings file so the app reads configuration from environment variables, not hardcoded values.
Tip: keep your fork clean. Use branches for changes, and document what you changed versus the upstream template.
Step 2 - Deploy a model with Azure AI Foundry
- In Azure AI Foundry, create or open a Project.
- Pick a model from the Models catalog and create a deployment. Start with a standard deployment type that matches your region and quota.
- Note the endpoint, deployment name, and the API version shown in the portal.
- If you are using On Your Data, connect your data source and complete access configuration.
Security tip: prefer private endpoints for the model resource and your data plane. This allows the app to call the model over a private link rather than the public internet.

Step 3 - Host the app on Azure App Service
You have two common paths: deploy straight from GitHub Actions, or script the infrastructure first and then publish.
Option A - GitHub Actions CI/CD
- Use the official
azure/loginaction to authenticate with a federated identity. - Build, then deploy with
azure/webapps-deploy. - Store only non-secret settings in repository variables. Pull secrets at runtime from Key Vault.
Example workflow snippet:
name: deploy-appservice
on:
  push:
    branches: [ main ]

jobs:
  build-and-deploy:
    runs-on: ubuntu-latest
    permissions:
      id-token: write
      contents: read
    steps:
      - uses: actions/checkout@v4
      - uses: azure/login@v2
        with:
          client-id: ${{ secrets.AZURE_CLIENT_ID }}
          tenant-id: ${{ secrets.AZURE_TENANT_ID }}
          subscription-id: ${{ secrets.AZURE_SUBSCRIPTION_ID }}
      - name: Build
        run: |
          # install deps and build
          echo "Build your app here"
      - uses: azure/webapps-deploy@v3
        with:
          app-name: ${{ vars.WEBAPP_NAME }}
          package: .
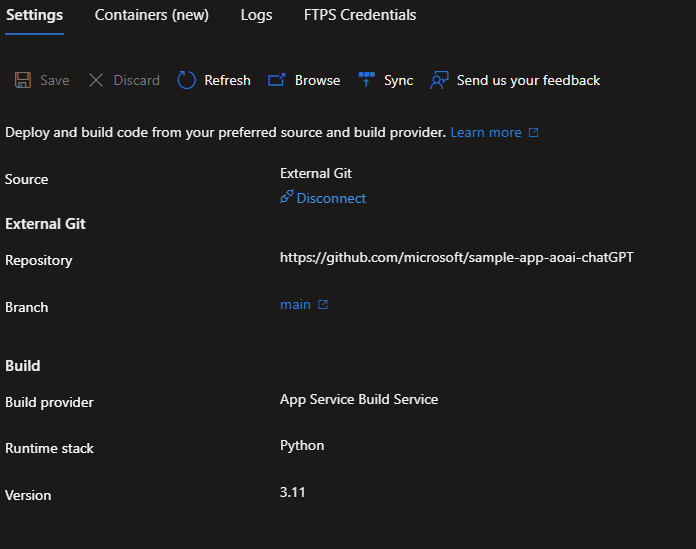
Option B - Script the infrastructure first
For repeatability, create the App Service plan and Web App, enable System Assigned Managed Identity, and use Key Vault references for your secrets. You can do this with Bicep, Terraform, or the Azure CLI.
Minimal CLI example:
# Resource group
az group create -n rg-chat-on-appservice -l westeurope

# App Service plan
az appservice plan create \
  -g rg-chat-on-appservice -n plan-chat --is-linux --sku P1v3

# Web app with managed identity
az webapp create \
  -g rg-chat-on-appservice -p plan-chat -n web-chat-on-appservice \
  --runtime "PYTHON:3.12" \
  --assign-identity
Step 4 - Store configuration in Key Vault and bind with MI
- Create a Key Vault and add secrets like the model endpoint or connection strings.
- Grant the Web App’s managed identity
getandlistpermissions to secrets. - In App Service Configuration, reference Key Vault values using the
@Microsoft.KeyVault(SecretUri=...)syntax.
Example app settings:
OPENAI_ENDPOINT = @Microsoft.KeyVault(SecretUri=https://kv-chat.vault.azure.net/secrets/openai-endpoint/...)
OPENAI_DEPLOYMENT = gpt-4o-mini
OPENAI_API_VERSION = 2024-08-01-preview
Note: when you use a user assigned identity, set keyVaultReferenceIdentity on the Web App to that identity. For system assigned identity, the platform uses it automatically.
Step 5 - Network hardening
- VNet integration: attach the Web App to a dedicated subnet so outbound traffic reaches private endpoints and internal services.
- Private endpoints: for Azure AI Foundry model endpoints, Key Vault, Azure AI Search, and Storage.
- Private DNS: link zones to your VNet so the Web App resolves private FQDNs correctly.
- Access restrictions: optionally limit inbound access to the Web App by IP or private access via App Service Environment.
This setup keeps model calls and data access inside your network path.
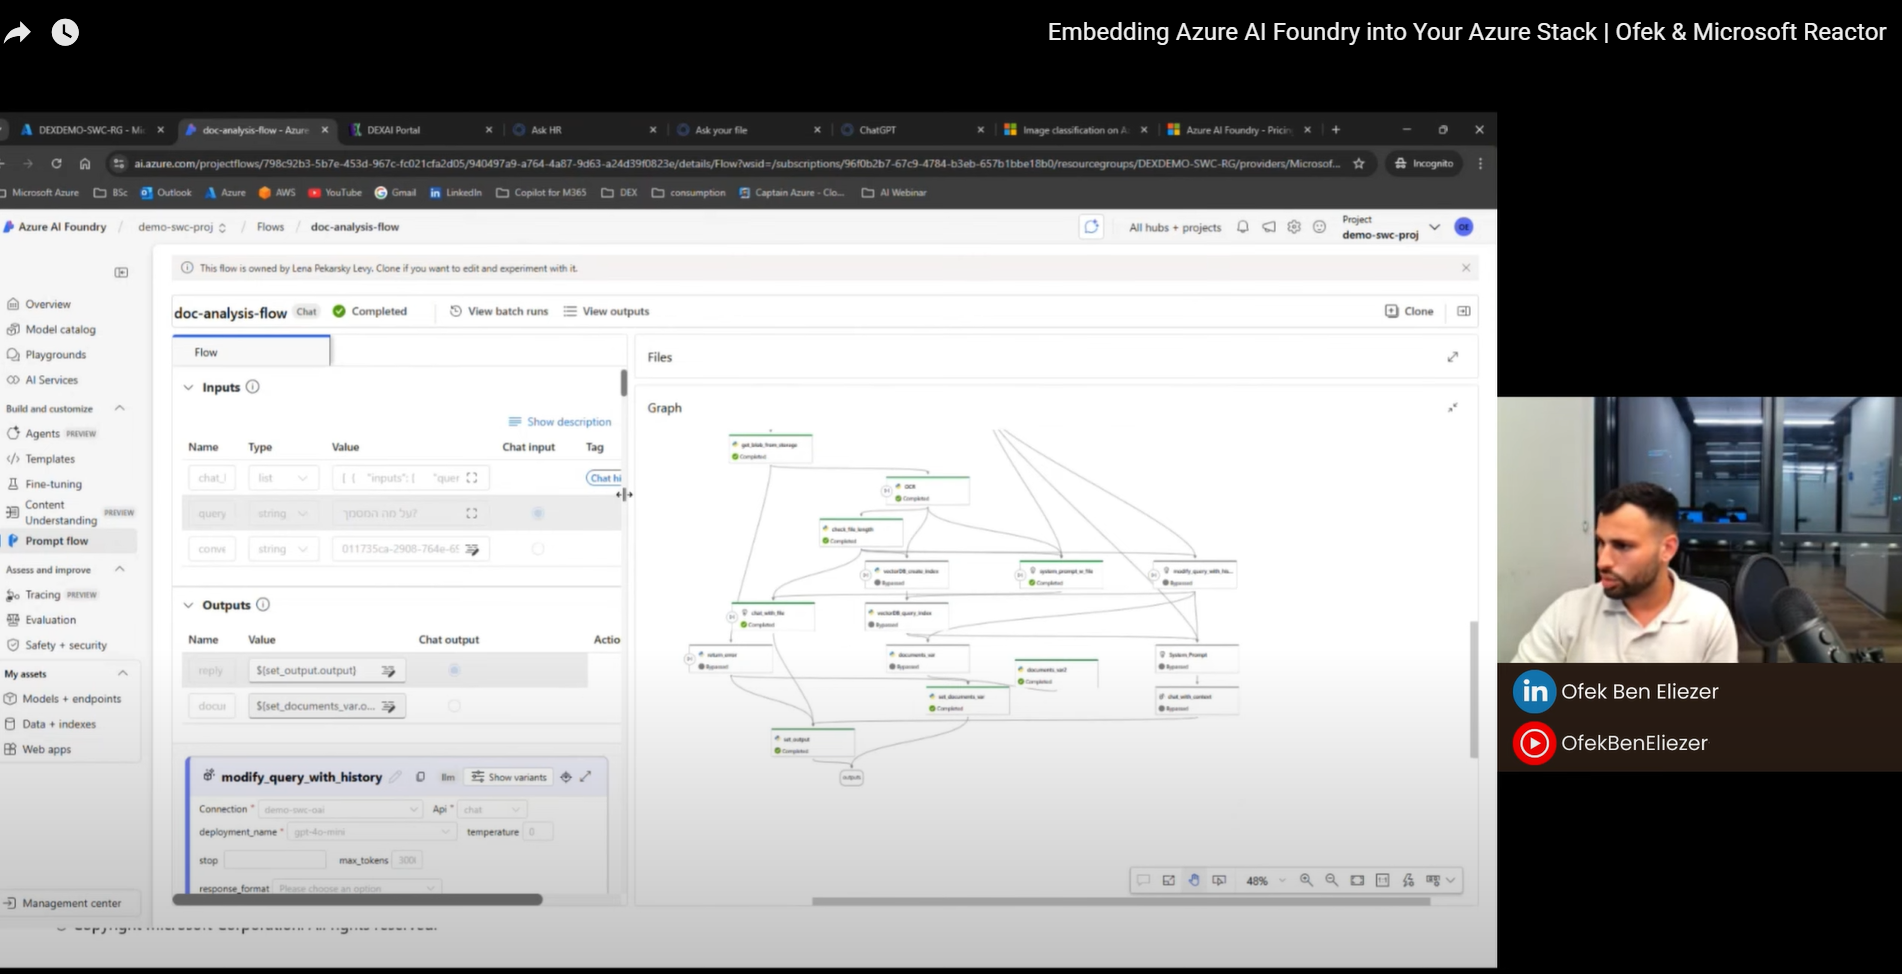
Step 6 - Plug in Prompt Flow for quality
Use Prompt Flow to version your prompts, run batch evaluations, and compare runs. The flow runs against your deployed model endpoint and produces metrics like accuracy proxies, groundedness, and cost.
- Create a flow for your main system prompt with inputs and few-shot examples.
- Prepare a small evaluation dataset that reflects your domain.
- Run an evaluation and inspect outputs and cost.
- Iterate on the prompt or tool calls, then re-run.
Document your best run in the repo so others can replicate it.
Observability
- Enable Application Insights for traces, request logs, and dependency calls.
- Attach Log Analytics and alert on error rate, latency, and App Service health.
- Track Prompt Flow runs and keep evaluation artifacts alongside code.
Cost and sizing
- Start small with a P1v3 or S1 plan and scale out as needed.
- Control model spend with sensible rate limits and request batching.
- Prefer serverless or standard deployments in Foundry while you iterate, then move to provisioned capacity only if you need it.
Common pitfalls
- Missing Key Vault access for the Web App’s identity.
- DNS not resolving private endpoints because the Private DNS zone is not linked to the VNet used for VNet integration.
- Using public endpoints while expecting private traffic.
- Hardcoded secrets in code instead of Key Vault references.
- Region mismatch between the Web App and the model deployment causing latency.
References
Latest Video - Showing this Use Case From Microsoft Reactor (Hebrew)
- Microsoft sample app template: https://github.com/microsoft/sample-app-aoai-chatGPT
- Azure AI Foundry - Models and deployments: https://learn.microsoft.com/azure/ai-foundry/concepts/deployments-overview
- Prompt Flow - concepts: https://learn.microsoft.com/azure/ai-foundry/concepts/prompt-flow
- Develop an evaluation flow: https://learn.microsoft.com/azure/ai-foundry/how-to/flow-develop-evaluation
- Use the Azure OpenAI web app: https://learn.microsoft.com/azure/ai-foundry/openai/how-to/use-web-app
- Deploy to App Service with GitHub Actions: https://learn.microsoft.com/azure/app-service/deploy-github-actions
- Managed identity on App Service: https://learn.microsoft.com/azure/app-service/overview-managed-identity
- Key Vault references in App Service: https://learn.microsoft.com/azure/app-service/app-service-key-vault-references
- App Service VNet integration - overview: https://learn.microsoft.com/azure/app-service/overview-vnet-integration
- Enable VNet integration - how to: https://learn.microsoft.com/azure/app-service/configure-vnet-integration-enable
- Network and access for Azure OpenAI On Your Data: https://learn.microsoft.com/azure/ai-foundry/openai/how-to/on-your-data-configuration
- Private endpoints for Azure OpenAI: https://learn.microsoft.com/azure/ai-foundry/openai/how-to/network
- Private endpoints for Azure AI Search: https://learn.microsoft.com/azure/search/service-create-private-endpoint
Next steps
- Add IaC files for a one-click deployment.
- Add end-to-end tests that call the health endpoint and a test prompt.
- Document how to rotate secrets and update the app without downtime.
If you use this approach in production, consider sharing a short write-up with your architecture diagram and any lessons learned. It helps the community move faster.